Programming with Lego Mindstorms Robolab:

The Lego Mindstorms Robolab has a language that is basic and easy to learn for the casual programmer. It uses icons stringed together to create a series of events, which ultimately makes a program. If used properly, a programmer can create relatively complex programs, but in the end it is limited. There are two separate sections to program in, Pilot and Inventor. The Pilot level of programming is very limited. Its primary use is for a programmer to get accustomed to how the icons function and what can be strung together. The Pilot level architecture does not even include the majority of function that can be performed by the RCX. The second mode of programming is the Inventor level. In the Inventor level of programming, the programmer has near limitless possibilities, with a few exceptions. This basic walkthrough will primarily focus on the Level 4 Inventor level of programming. This is the most advanced mode that Mindstorms has to offer.


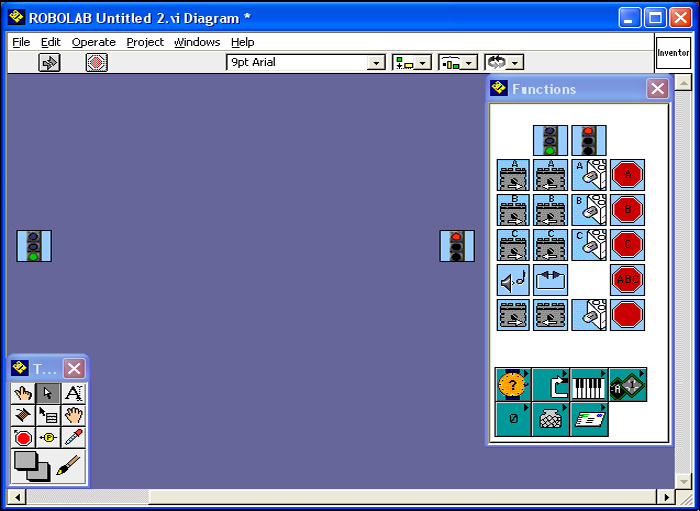
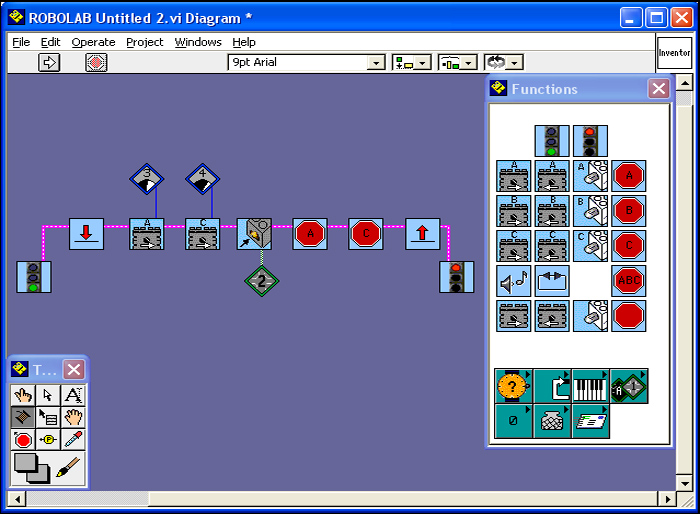
The first image is of the starting template found in Level 4 Inventor. There is a stop-and-go light with green lit up and one with red. Between these two lights is where the program goes. There is a functions palette on the right and a tools palette on the bottom left. Both of these palettes will be used regularly in programming. In this overview we will go over a program that illustrates many, but not all of the options in Robolab.


In the second image, five icons were added. The first two turn on motors A and C in the forward direction (the specified direction is arbitrary however, because it is mostly dependent on how the wires are connected to the output terminal.) The next icon is a “wait” icon. It says for the two motors to run until the specified time is reached. In this instance the two motors run for 4 seconds. The last two icons are stopping icons. They tell the motors to stop. Therefore, the program begins with the two motors, A and C going forwards, after 4 seconds they stop, end of program.


The third image has five more icons added, and one icon modified. The “wait” icon is now a touch sensor. This tells motor A and C to run until the touch sensor is touched. The ‘2’ below the touch sensor indicates which input terminal the touch sensor is connected to. The numbers above motors A and C are the speeds of the motor. Motor A turns on at speed 3 and motor C turns on at speed 4. The final two icons are the jump command. It is not a conditional jump; it simply jumps just before the program ends. The “up” arrow indicates where to jump from, and the “down” arrow indicates where to jump to. This program is in an infinite loop and therefore would not be very practical.


There are plenty more commands that can utilized that have not been covered, including conditional loops, for loops, basic while loops, and other sensors can be used as well. With just a few hours of exposure to this language, any programmer with a base knowledge of how programming works, would be able to make a relatively advanced program.

In our time with this language, we found it to be too limited to allow us the freedom to have our robot to what we were asking of it. It required multiple tasks to be run at the same time and then having those tasks be re-run. The language did not allow this. We also found it easier to work with NQC (Not Quite C) because of the familiarities it had with C.