By Kevin Scott Papreck
Now that you have all your parts from the things to buy list, you may still looked stumped on what to do with everything, so that is where I come to help.
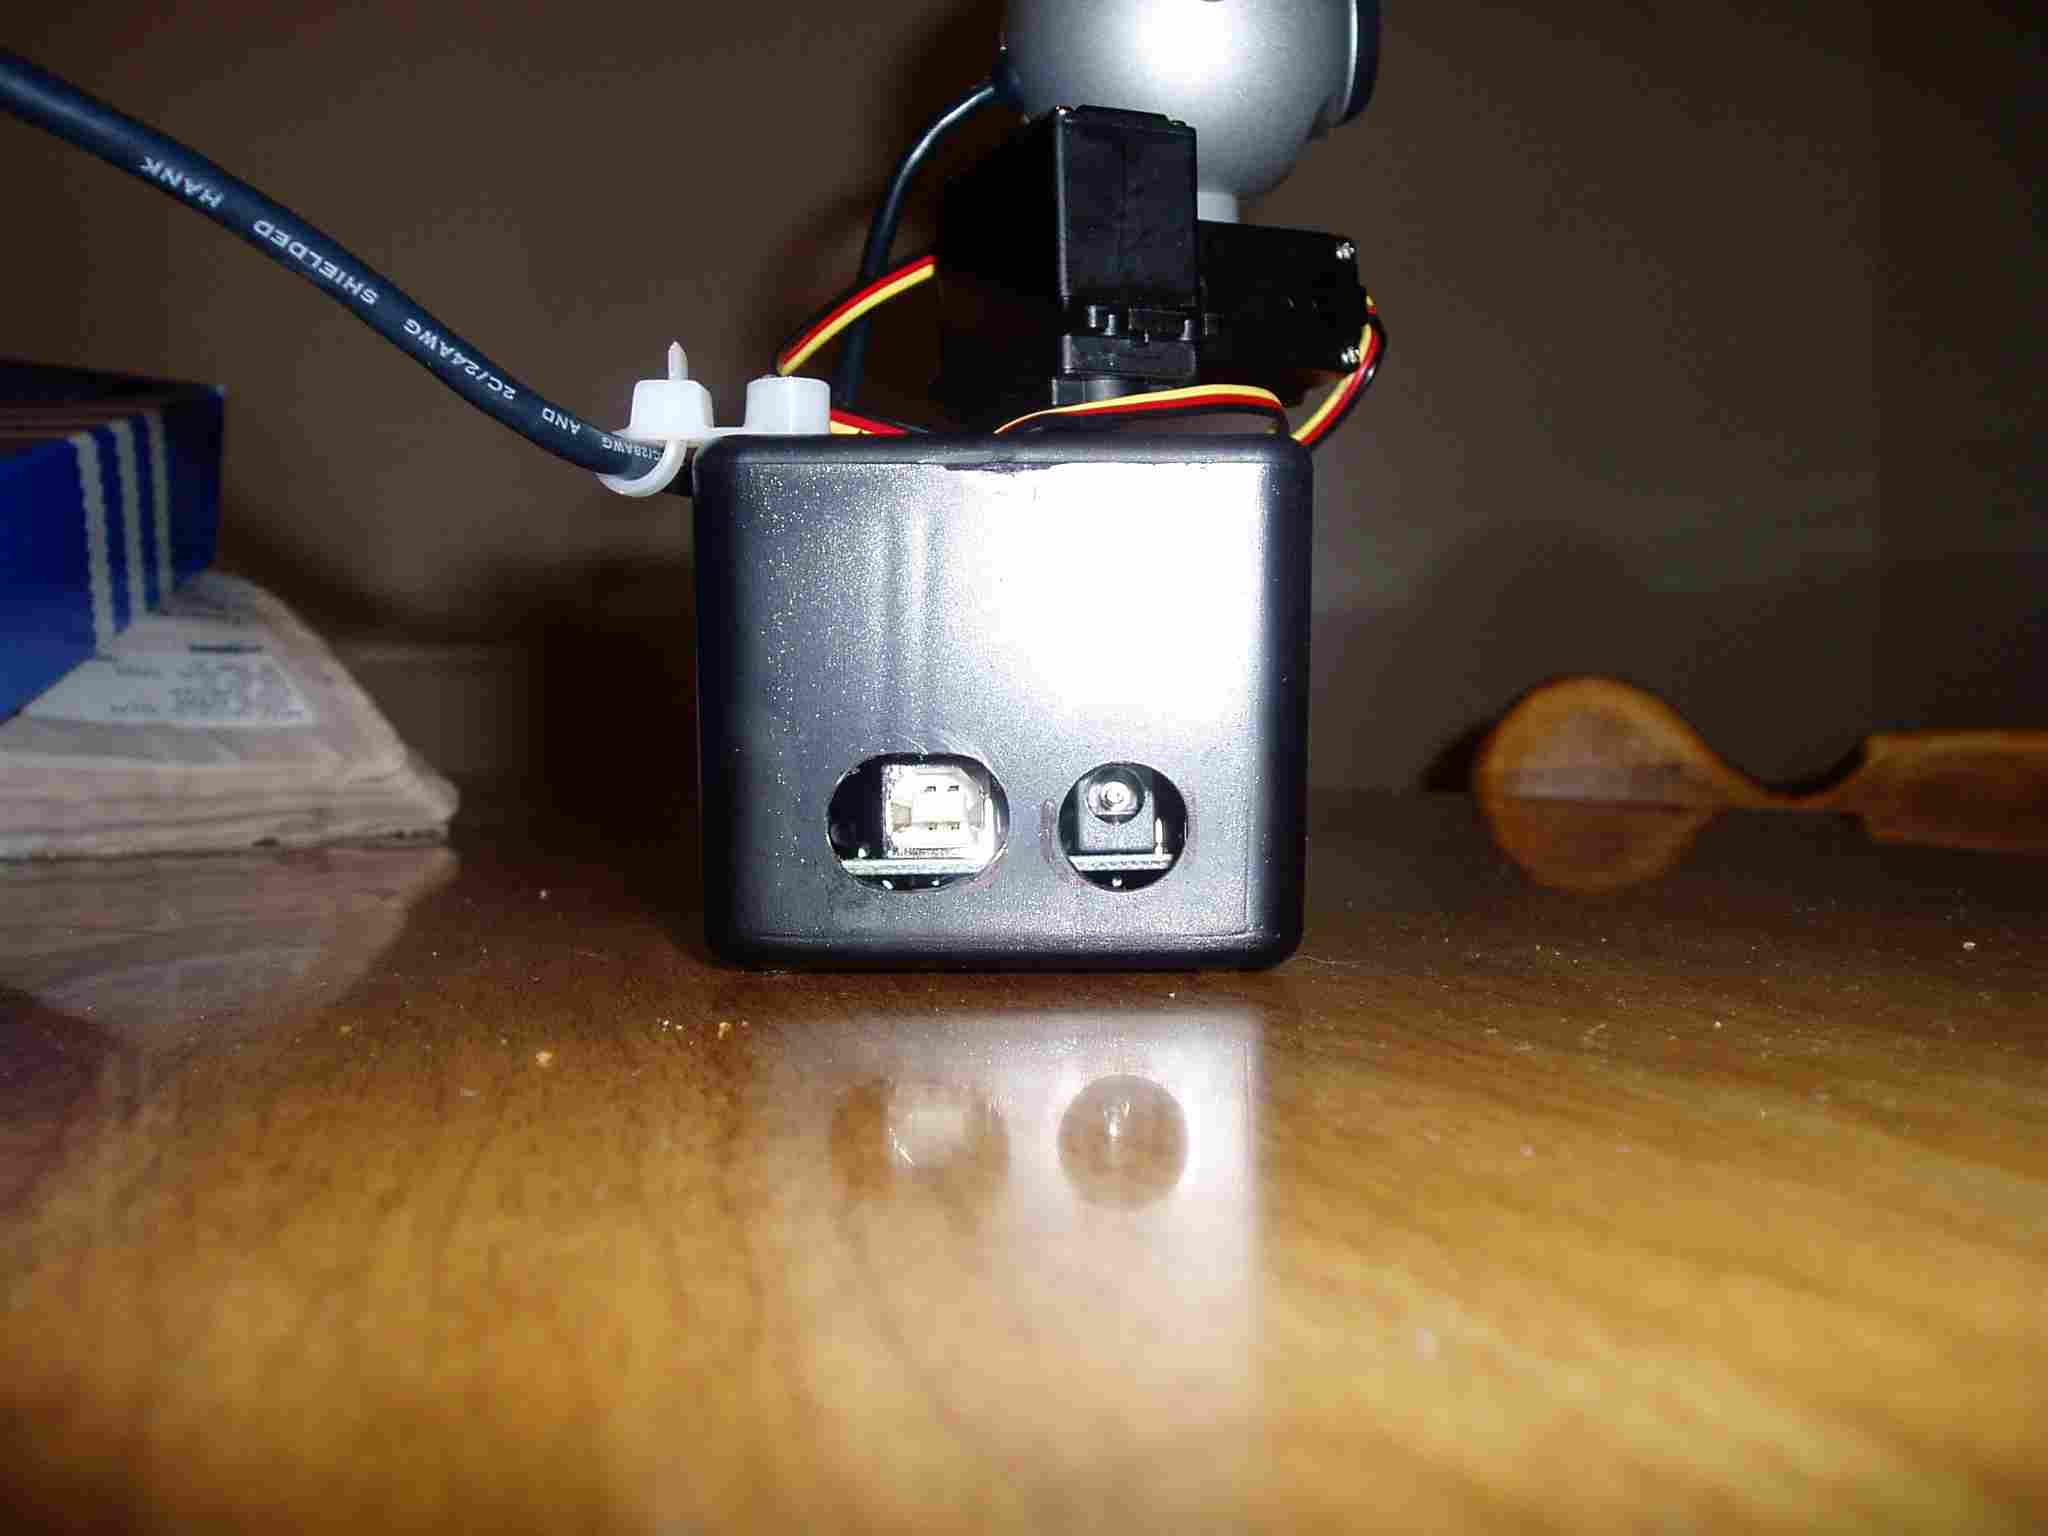
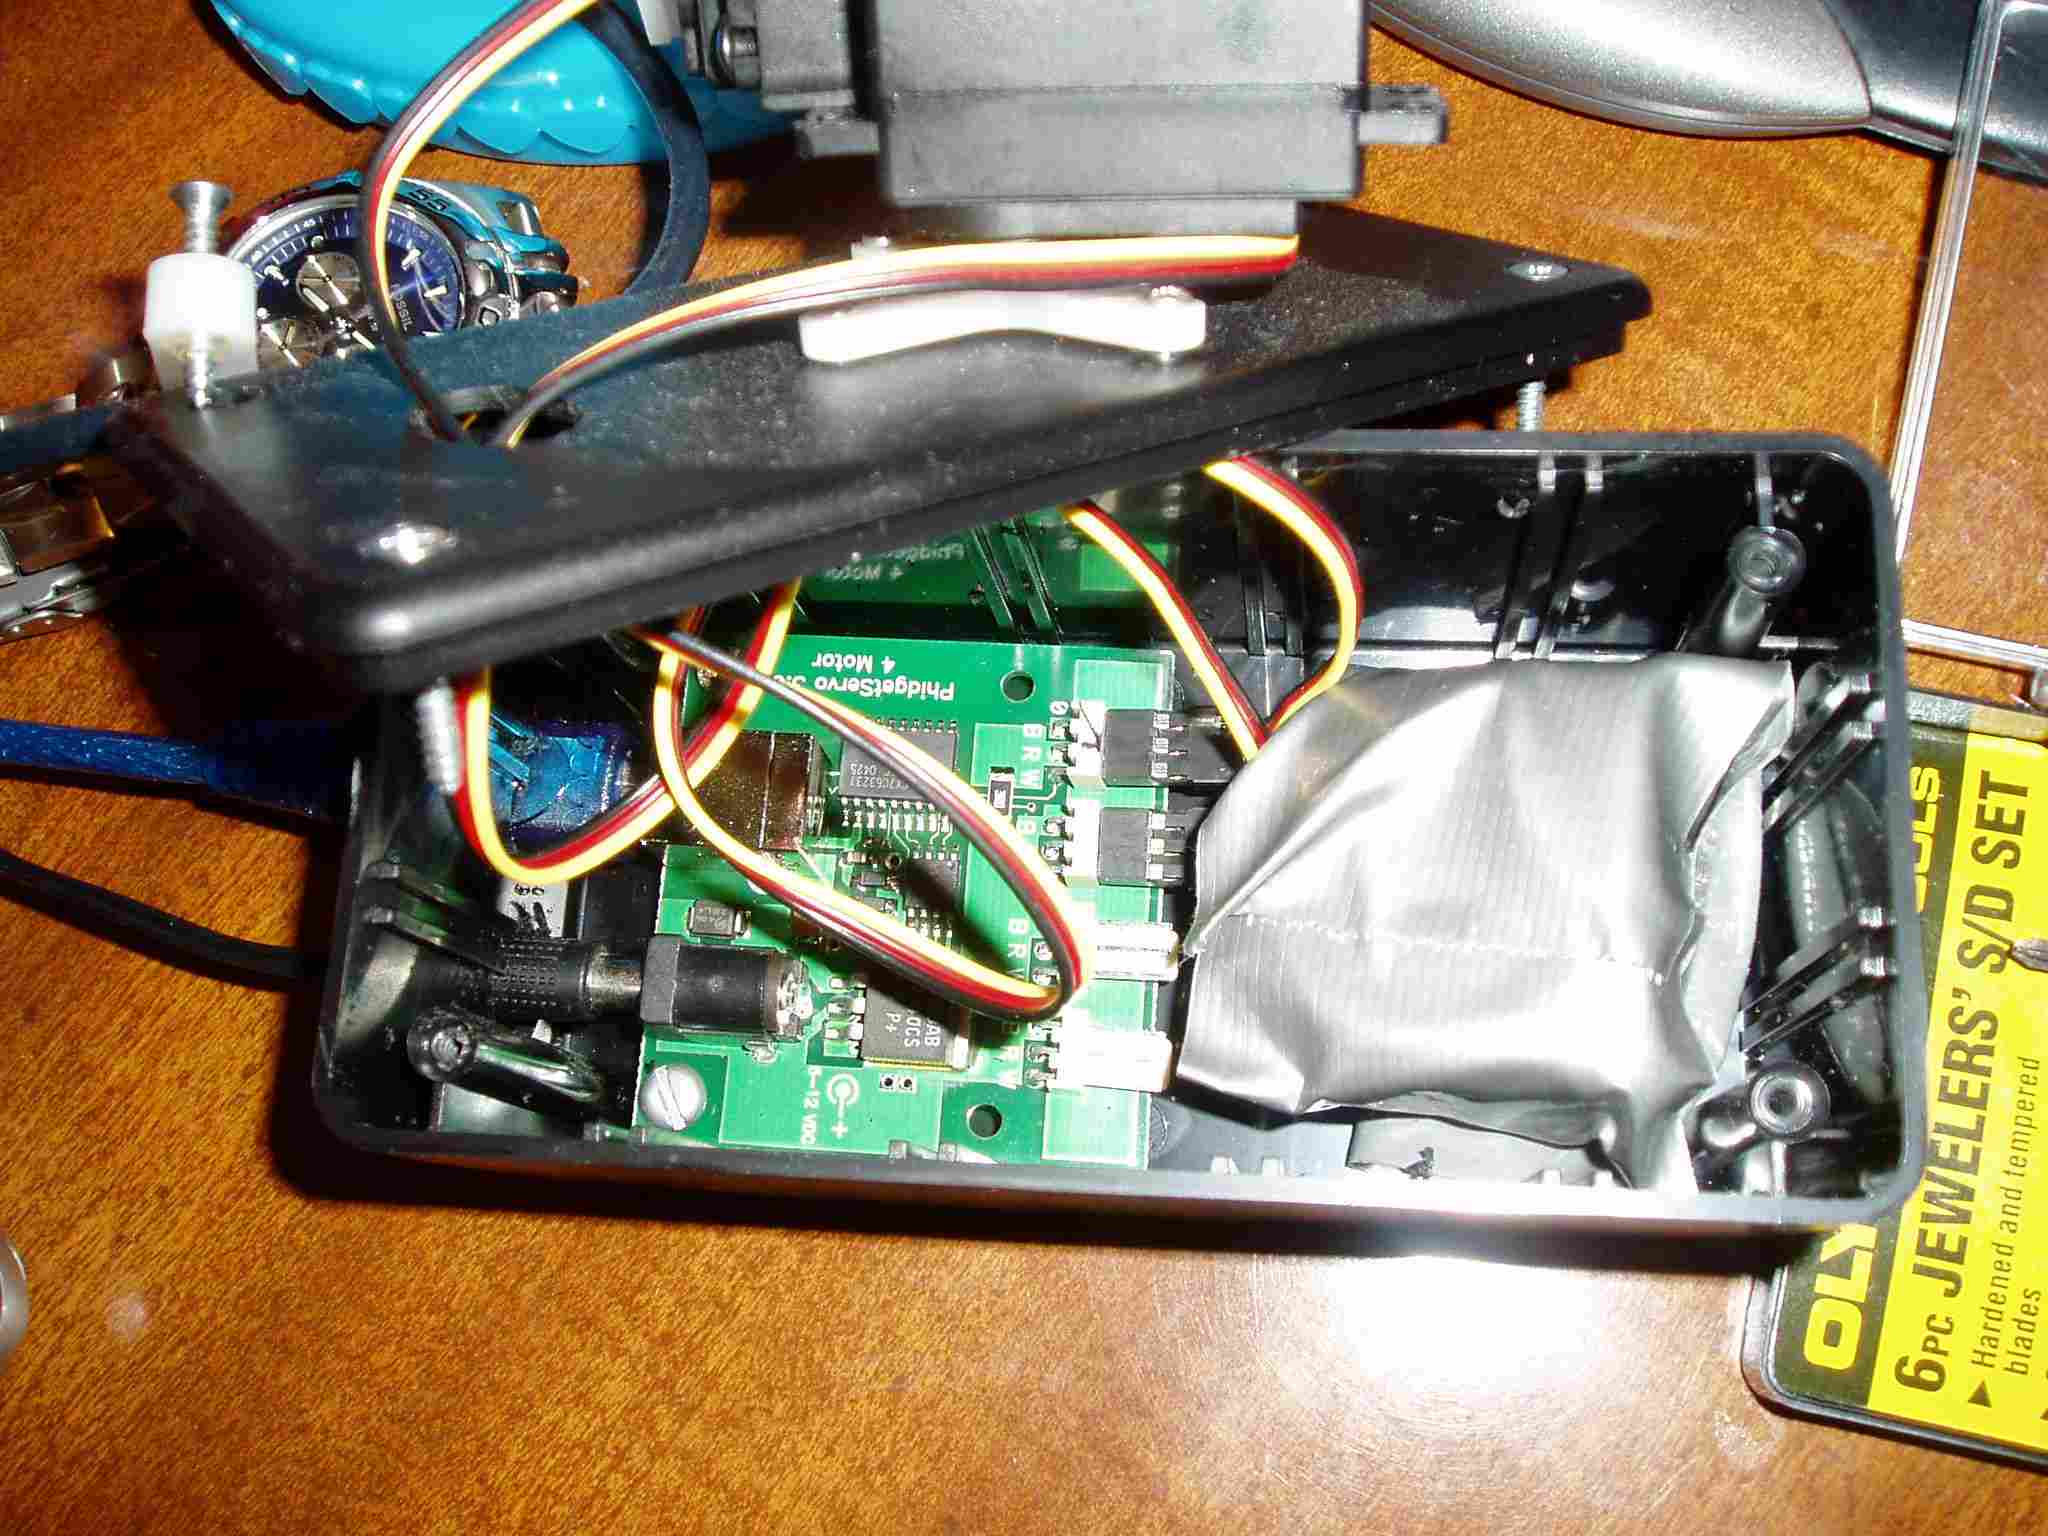
Step 1: Take out the enclosure and and a drill. You need to drill two holes in one of the sides so that you can plug the Phidget USB and power cord into it. To check where to drill you may want to put the Phidget in and mark the spots where to drill. A picture of how I drilled it is shown below these two pictures.
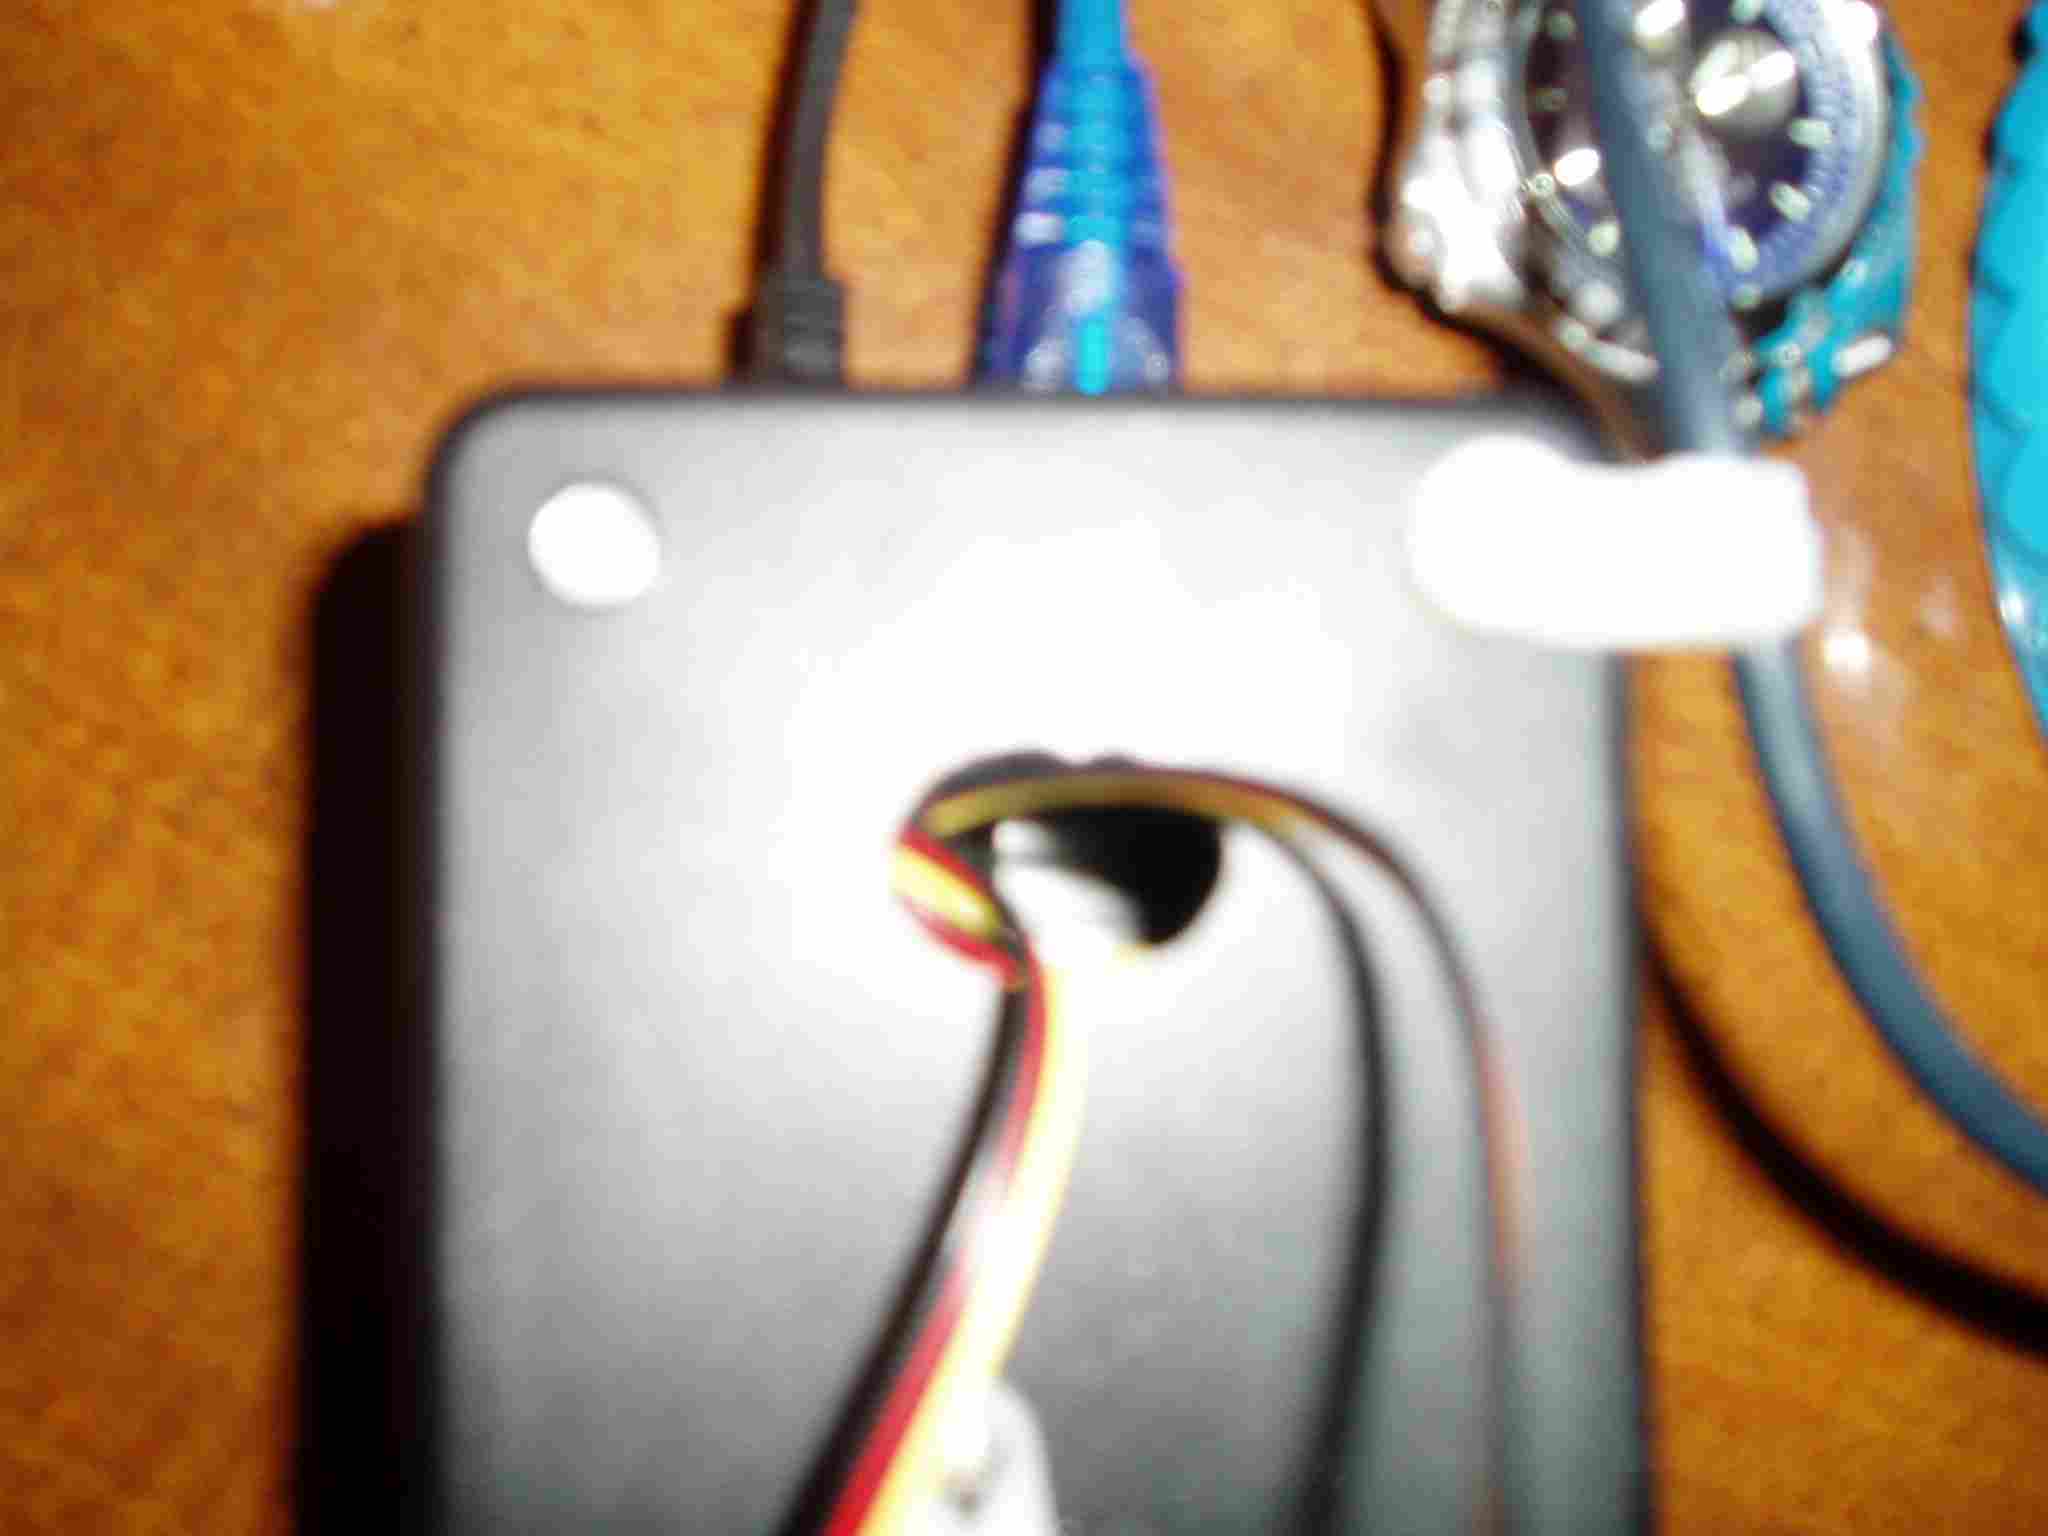
Step 2: Now that you still have the drill out, you should just get the last drilling out of the way. Here you need to drill a hole on the top to run the servo cords through to plug into the Phidget device. A picture of this is shown below.
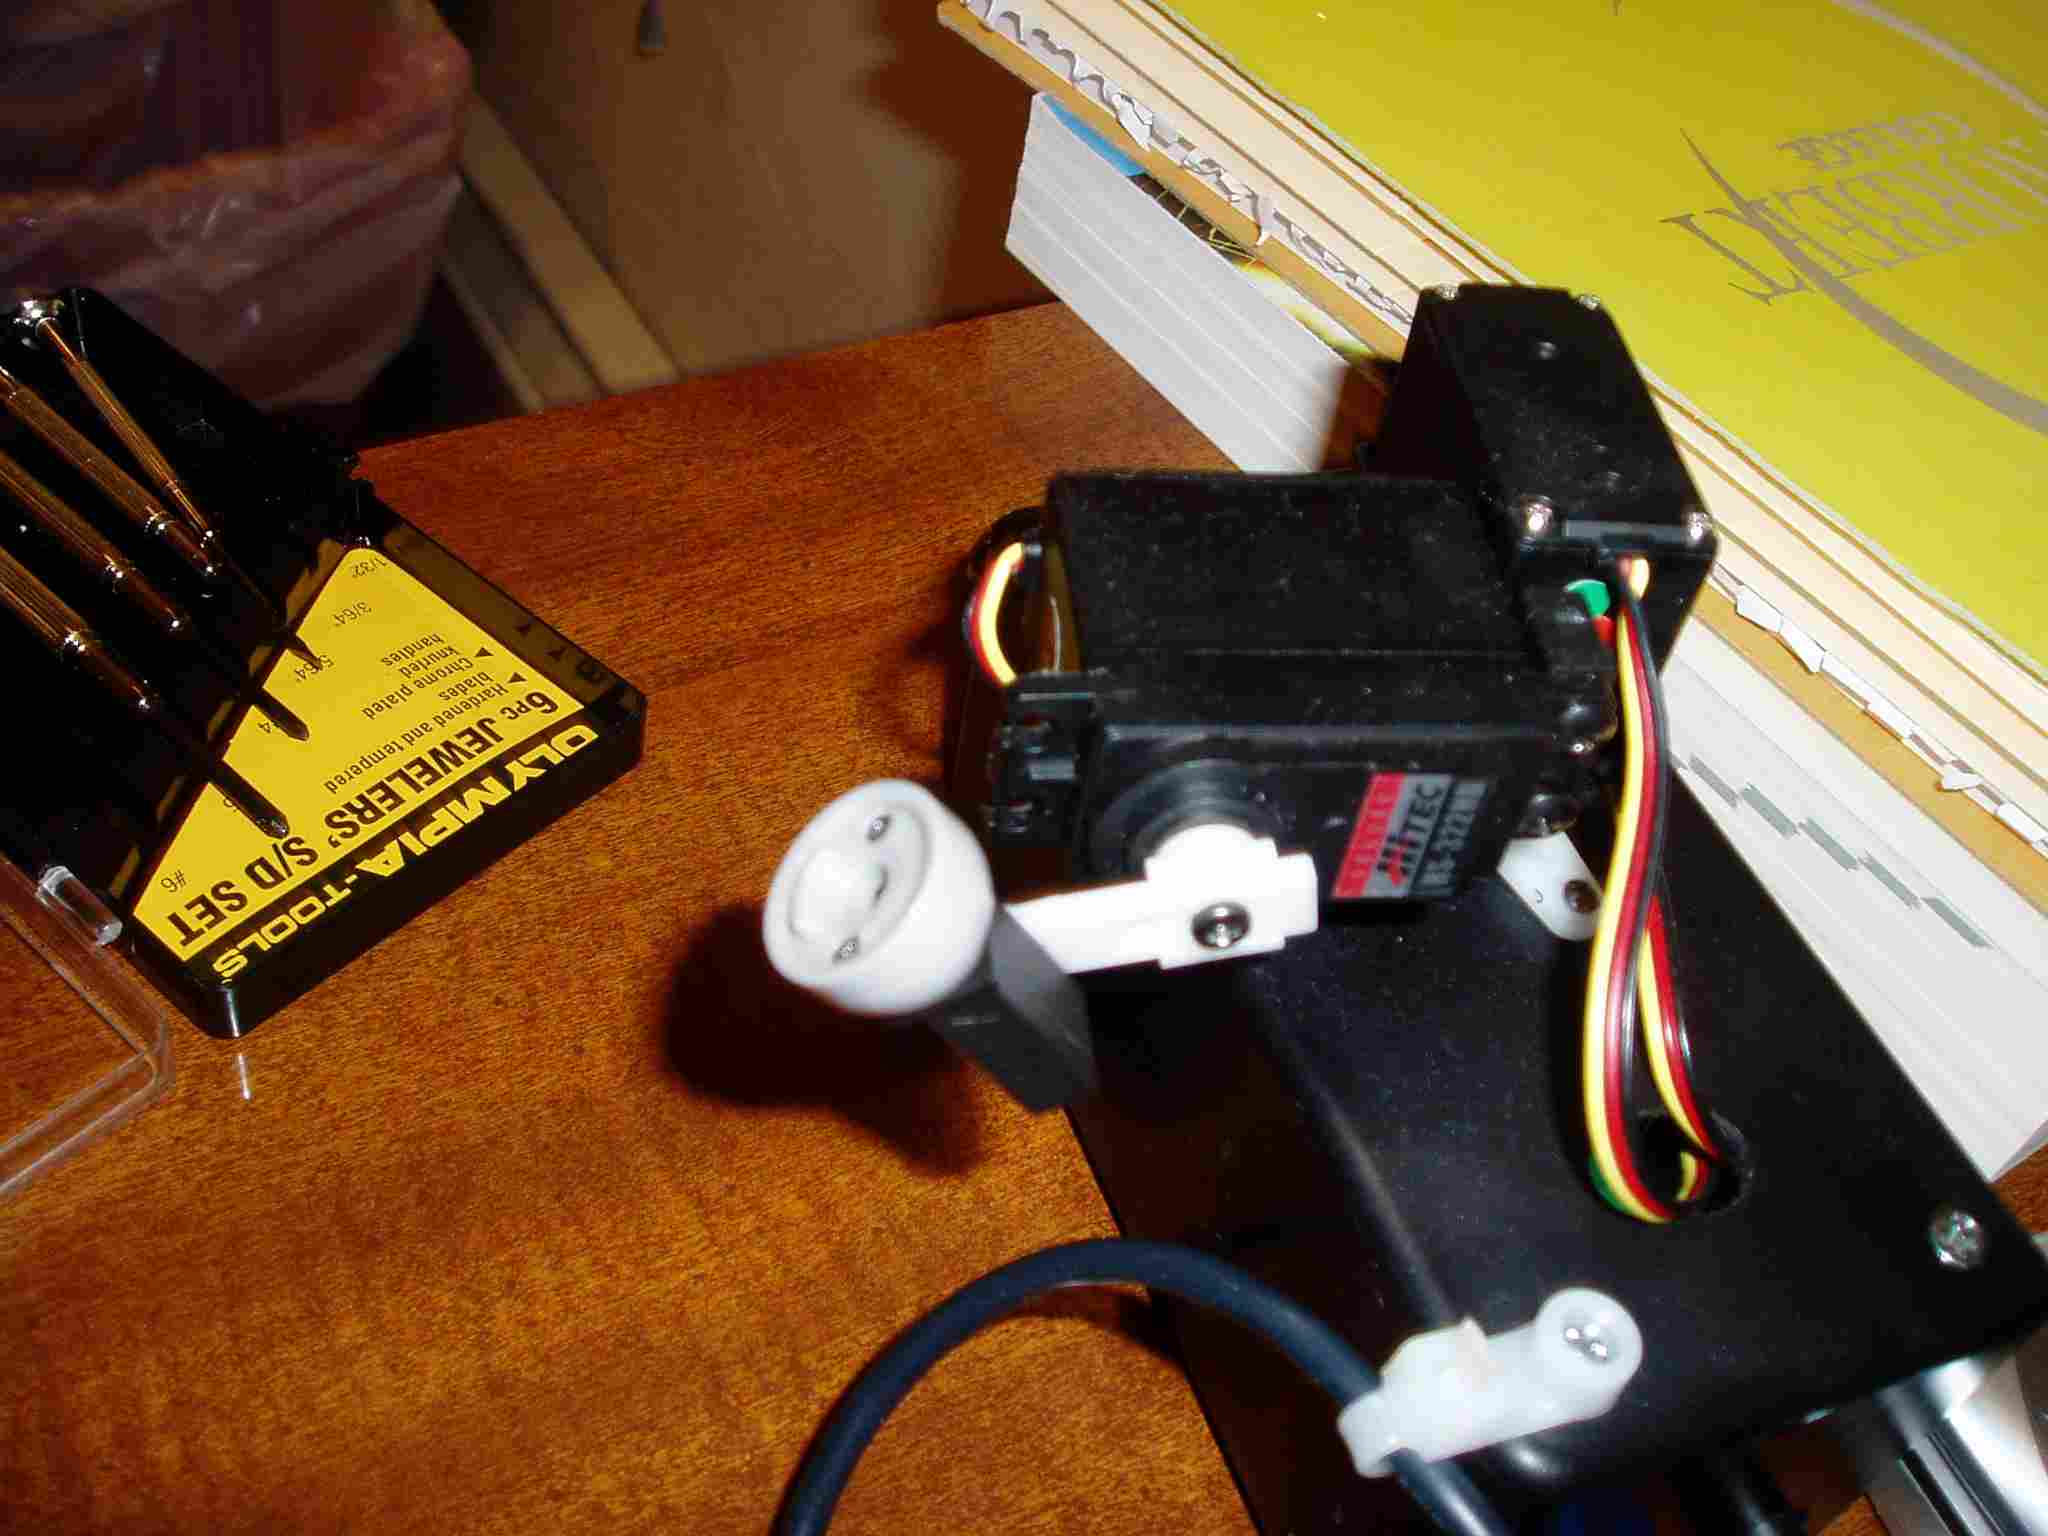
Step 3: After the drilling is all done with you need to take out the cross piece from the X-Y Axis Mount kit. Next, take one of the servo motors, and unscrew the circle part that is on the top of it. Now take the cross piece and screw it into the servo motor. The cross piece and the attachment

The second motor you need to do something similar. First take off the circle part, but this time you need to attach two pieces which are shown in the picture below.

![]()


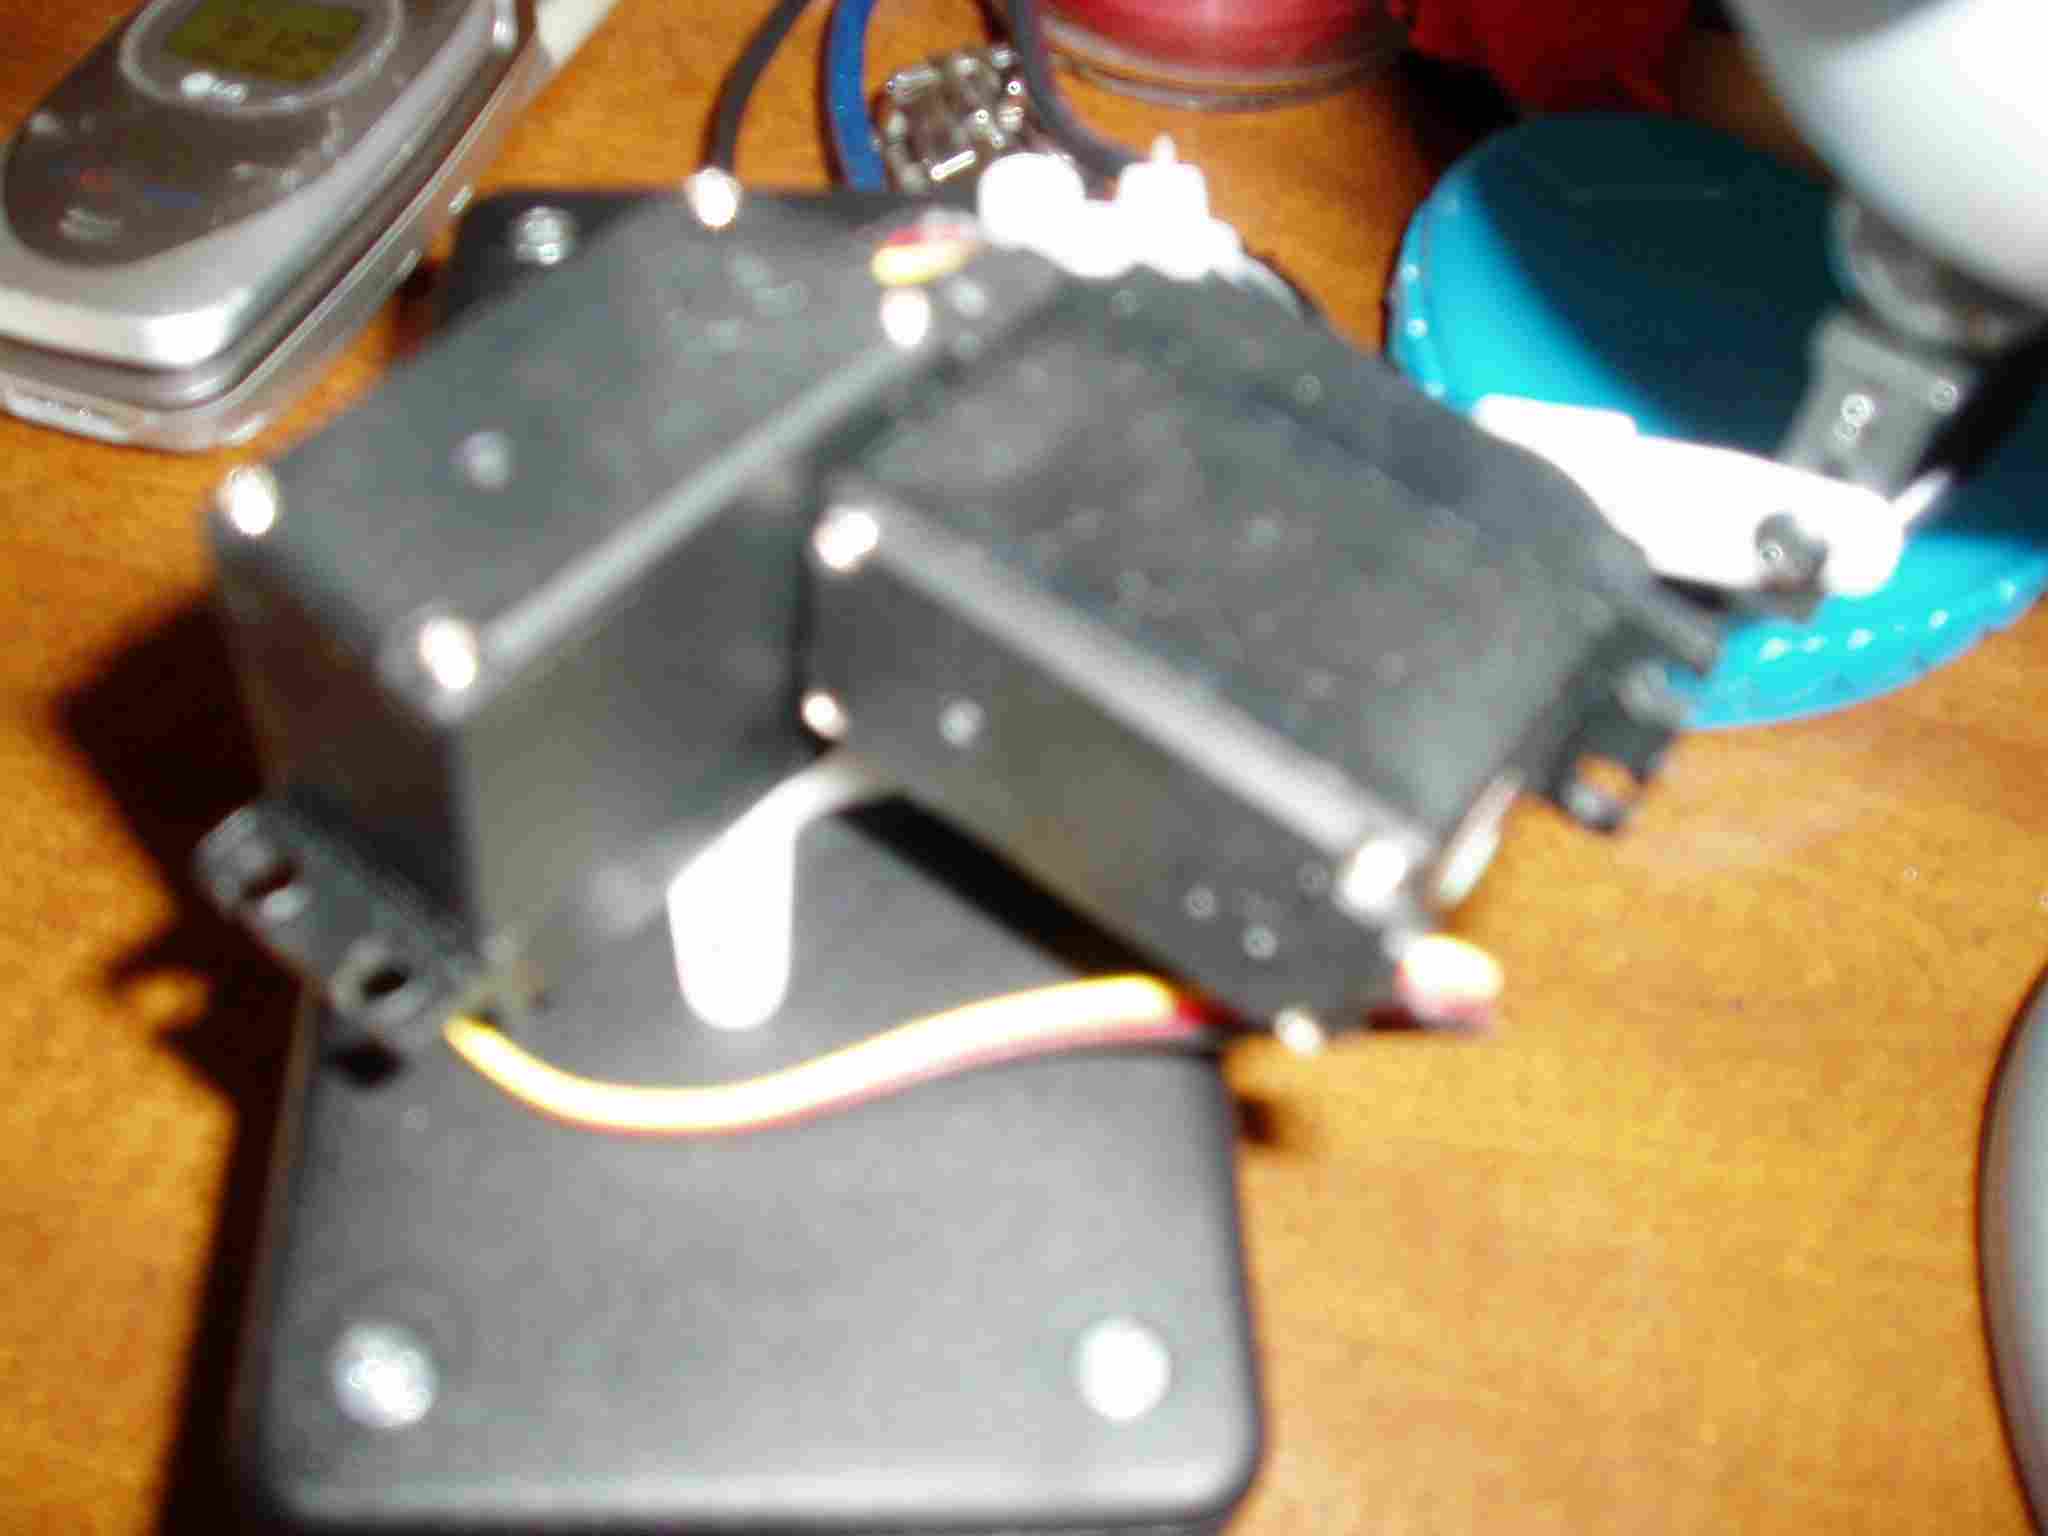
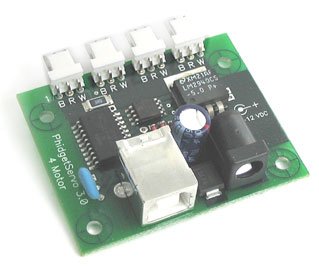
Step 5: Once this step is over with, run the servo motor and a second servo motor through the enclosure top and plug in the two servos into the Phidget device. You need to make sure you use the slots on the Phidget device farthest to the right, as those are Motor 0 and Motor 1. Once you plug them in you need to screw in the Phidget device into the main part of the enclosure. You may also want to attach some weight in the bottom to prevent tipping a movement. For this I just duck taped some washers in the bottom. This part is shown here.
Step 6: Attach the cover and screw it in!
Step 7: Once screwed in you need to attach the second servo motor to the first one. To do this you need to take out one of the black pieces that came with the X-Y Axis Mount kit. These black things are shown below.

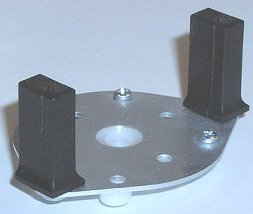
With this black thing in hand you need to take out a screw and screw it through the hole in the servo motor. So when looking at the two pics above, you need to flip the black thing upside down and take a screw and screw it through the hole in the servo motor and into the black piece.
Step 8: Once this is done, take the second servo motor and attach it to the side of the first one into the black piece. This is shown below.
Step 9: Now its time to take out that second little black piece. You also need to take out the Logitech QuickCam and first pull the camera off. It will pop right off the mount. Once popped off you need to take a tiny screw driver out and unscrew it from the base. So the silver colored half sphere on the right is unscrewed from the base on the left. Once unscrewed you need to screw it into the top of the little black piece. Once it is screwed in there you need to screw the little black piece into the second servo motor. You will attach it to the piece in the third picture. When it is all done it will look like the second picture. Another picture you can look at to see this is the one from Step 8.
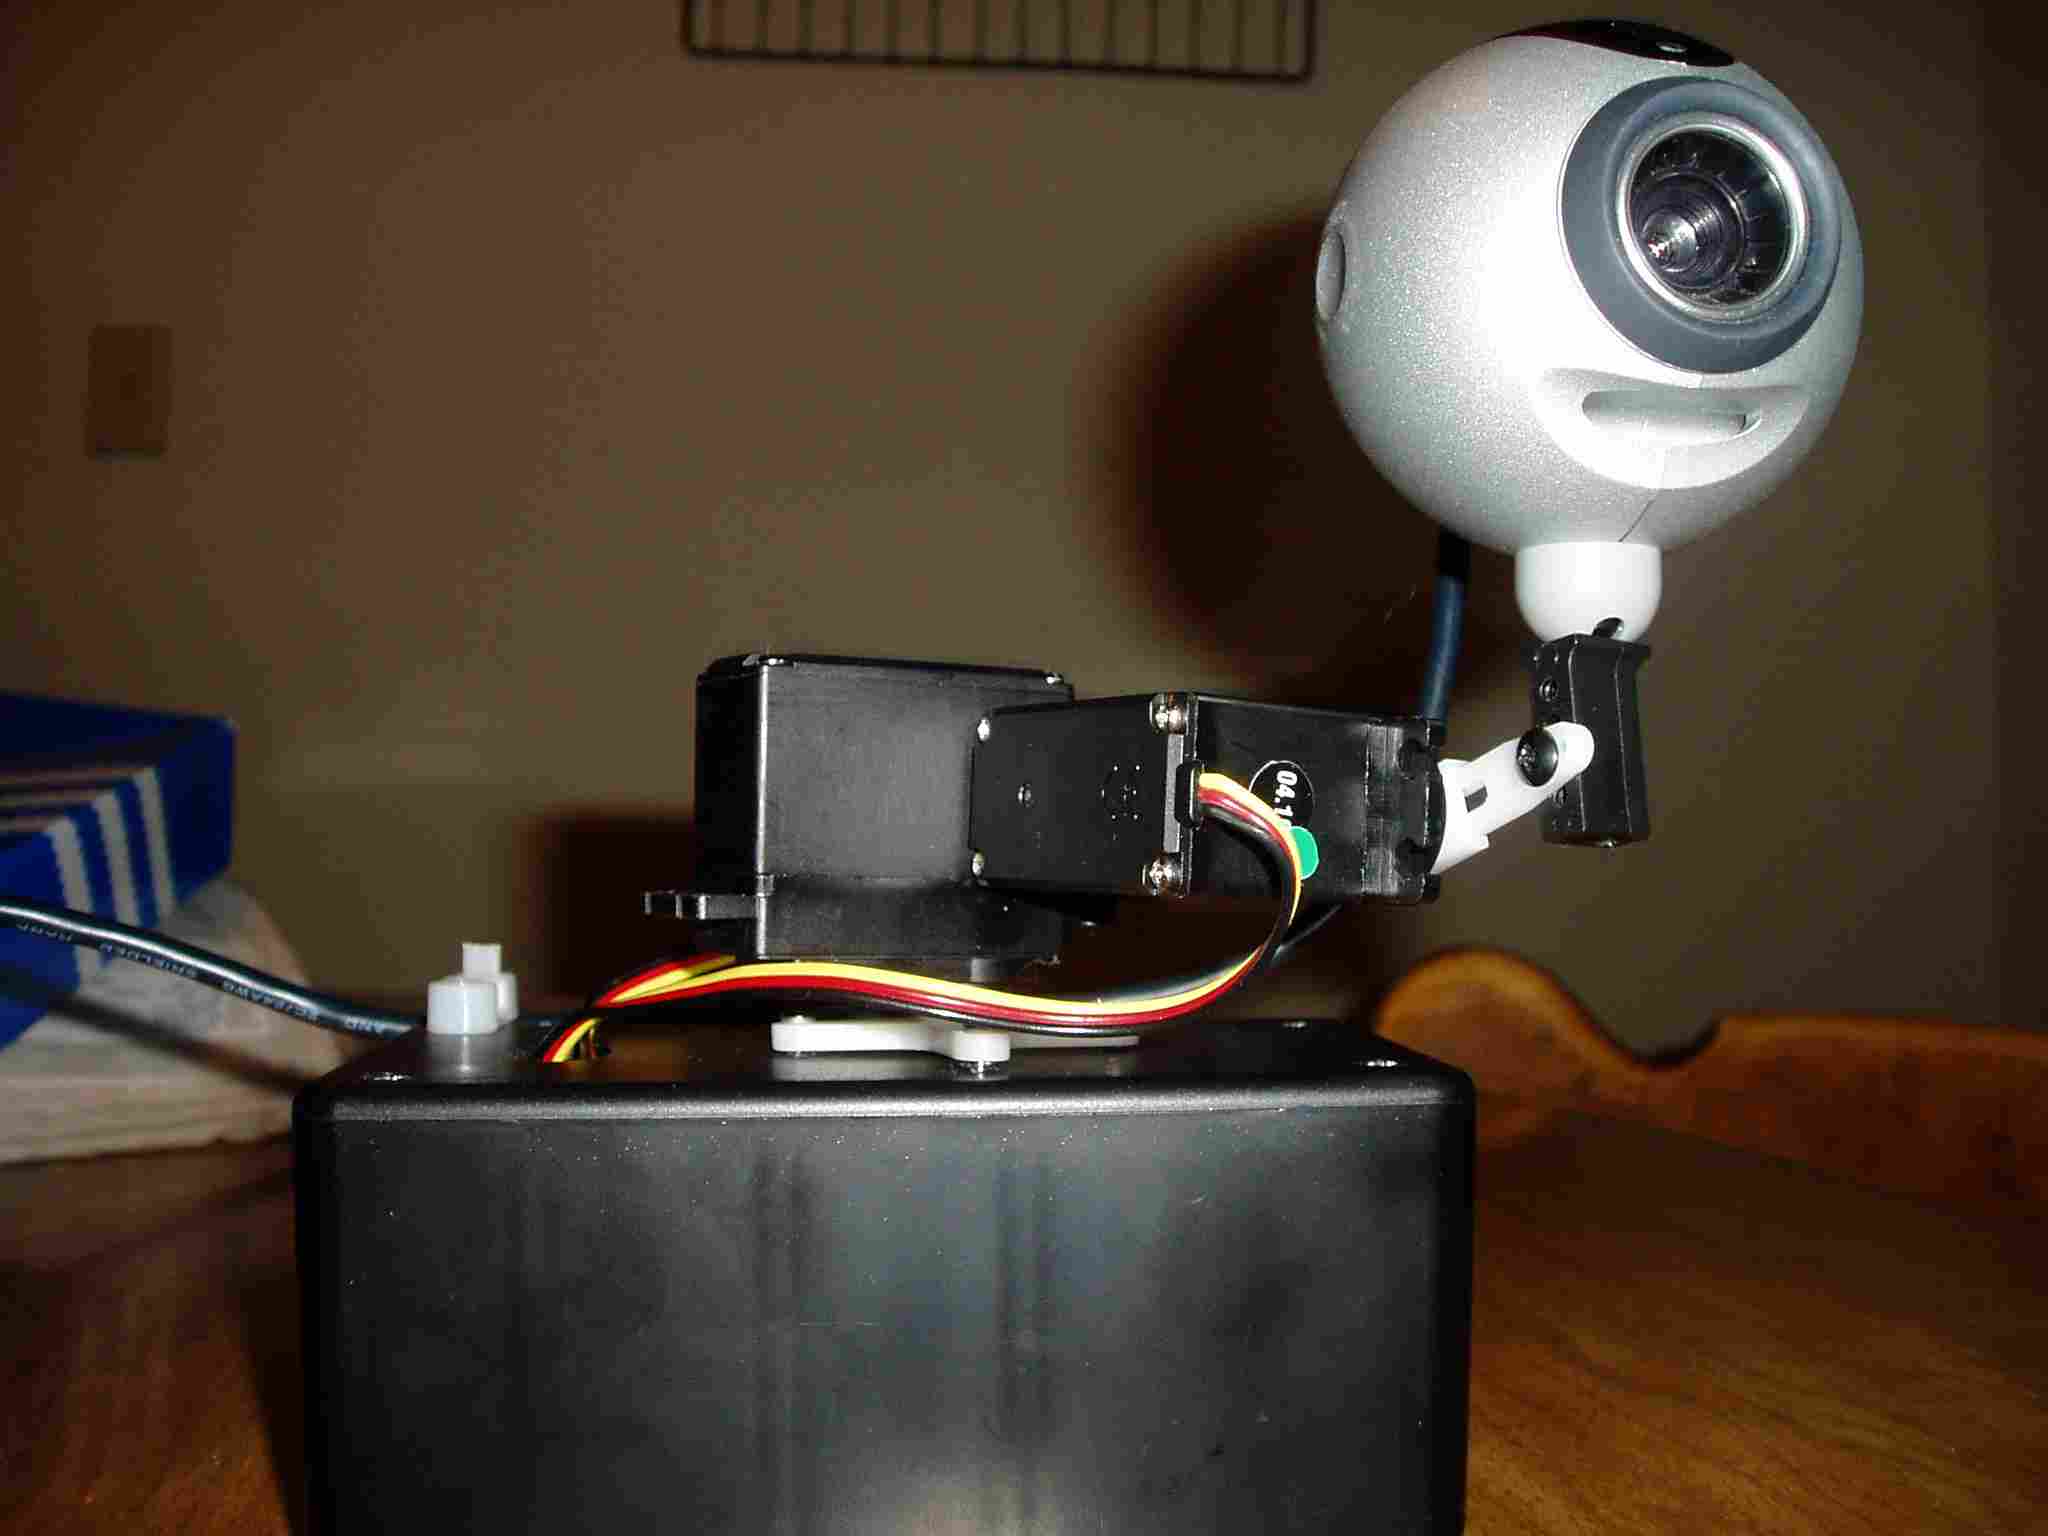
Step 10: Wow lots of work so far! But you are almost there. Now you need to attach the camera to the mount that you just attached to the second servo!
Step 11: To finish it up you need to plug in the USB cord into the Phidget USB slot and the power cord into the Phidget device cord slot. (Note: you only need to use the power cord if you are running more than one motor).
Step 11: Plug the USB cord into your computer and run the Phidget.msi library if you have not already done so.
Step 12: Download the example programs from www.Phidgetsusa.com and try out the servo examples. If it works from your computer then you are ready to move on to using my web application to bring the program on the internet.
Step 13: There is no step 13. You are Done!
Step 14: Time to install the web cam programs...