LightSync Multimedia
The photos and video below show the software and hardware in various stages of construction. They are in reverse chronological order (that is, the newest ones are at the top). Full-size photos are available by clicking each thumbnail.
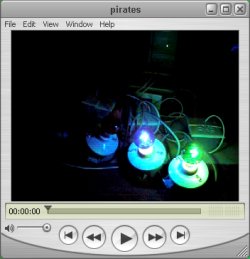
Video - Quicktime Format (12mb): This video shows our four colored lights connected to the system, and playing a short automatic light sequence (using Beatfinder) via the front-end software along with He's a Pirate by Klaus Badelt (from the Pirates of the Caribbean soundtrack). (Four channels are unused) This song shows some amazing synchronization by the software automatically to the beat. The volume is low in the beginning but gets louder.
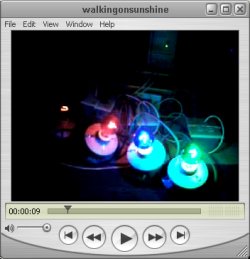
Video - Quicktime Format (16mb): This video shows our four colored lights connected to the system, and playing a short automatic light sequence (using Beatfinder) via the front-end software along with Walking on Sunshine by the Summertime Girls. (Four channels are unused) This is a good demo of how rhythm and interleave are used to overlap light effects.
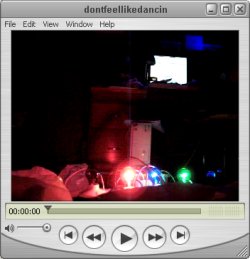
Video - Quicktime Format (50mb): This video shows our four colored lights as well as a strobe and disco ball connected to the system, and playing a manually-created light sequence. (Two channels are unused) The music is Don't Feel Like Dancin' by Scissor Sisters. This is a long demo - less synchronized (manual) but features disco light and strobe.
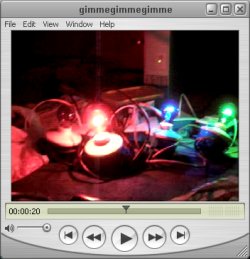
Video - Quicktime Format (9mb): This video shows our four colored lights connected to the system, and playing a short manually-created light sequence via the front-end software along with Gimme Gimme Gimme (A Man After Midnight) by Abba. (Four channels are unused) This is the best-synchronized manual light demo.
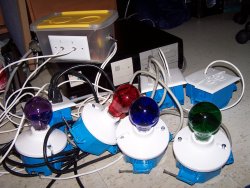
This shows all of the back end parts in their completed form: light controlling computer (freshly painted), head-end control circuits, tail-end control circuit boxes, and four light sockets used for colored lights.
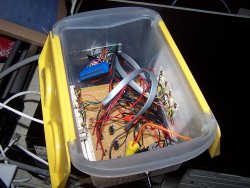
This is the inside of the head-end control circuit box. A switch was added in-line with the 18VDC power to be able to turn off output.
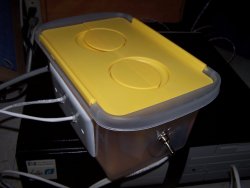
Here is the very attractive plastic box with the control circuits inside. Holes were cut with a rotary cutter to allow the attachment of the sockets, switch, and cable.
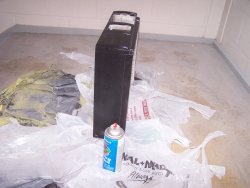
The case for the light controller computer, after being sprayed with a clear coat over the flat black paint.
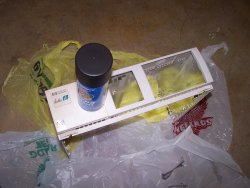
Before the extreme case makeover: a scuffed, discolored case appropriate for a scrap computer, but not for a high-tech lighting device. The HP logo and Intel Inside logo were masked to as to not be painted over - keeping it classy.
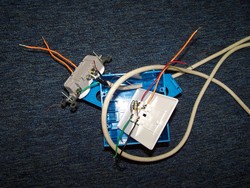
The secretive innards of the tail-end control circuits: the relay and isolating diode have yet to be attached.
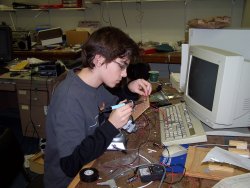
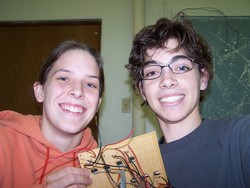
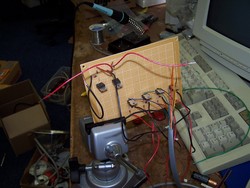
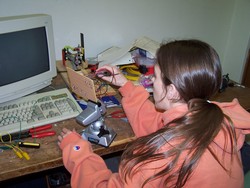
Ryan takes his turn soldering on the head-end control circuits. Eight identical circuits take a while to solder!
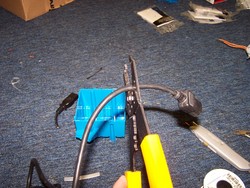
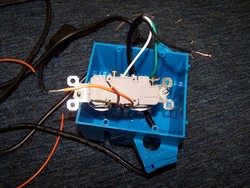
The moment of truth is at hand for this old computer power cable, to be repurposed as a power cable to a tail-end control circuit box.
Content copyright 2006 Ryan Pavlik and Nicole O'Connell. Portions of web design 2005-2006 Ryan Pavlik. This is not an official St. Norbert College web page - opinions expressed here are those of the authors, and St. Norbert College offers no warranty or indemnity for the instructions contained here. Do not attempt to follow these instructions to duplicate the experimentation of the authors: this may expose you to dangerous electrical currents. The steps listed here are for documentation only.
