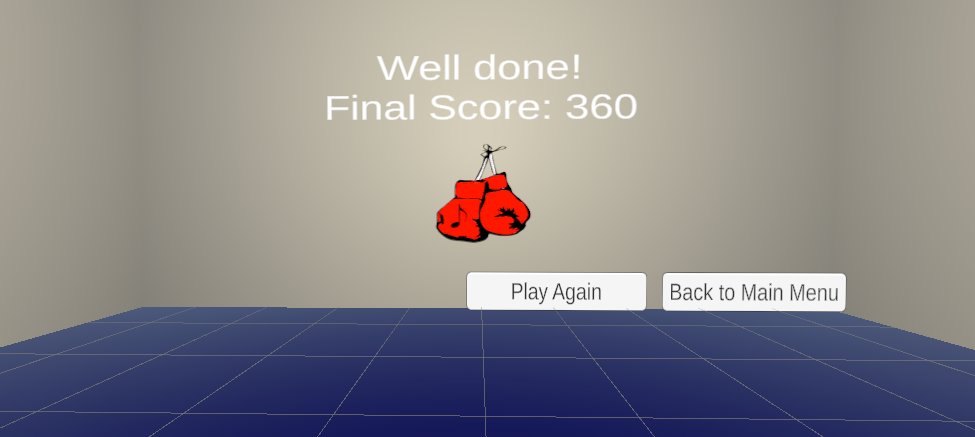
Over the past week I’ve spent time completing the game loop. After the main menu was completed (as of my last blog post), I first started by creating an end of song menu, which displays the score the player got and a button to go back to the main menu. I used a quick, ten second audio track as my selected song to make programming go by much quicker (what a pain if I waited three or more minutes for a regular song!).

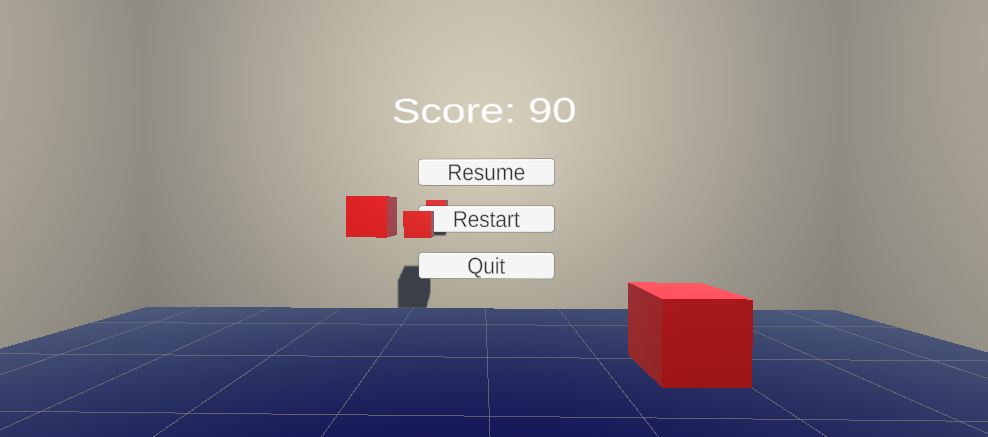
As you can see, I also have a “Play Again” button. This was added after the I created the pause menu, which I will show next. The pause menu is brought up when the player hits the primary button on either of their VR controllers (on my Oculus Touch controllers this is the ‘X’ button on the left controller and the ‘A’ button on the right controller). It features a resume button which unpauses the game, a restart button which restarts the song, and a quit button, which brings the player back to the main menu. I am yet to decide if I want to hide the cubes when the game is paused. Moving on, after creating the restart on-click function for the restart button, I was able to create the “Play Again” button on the end of song menu and reuse this function, only having to modify it slightly. Lastly, a textbox displays the score at all times during the game, whether or not the game is paused.

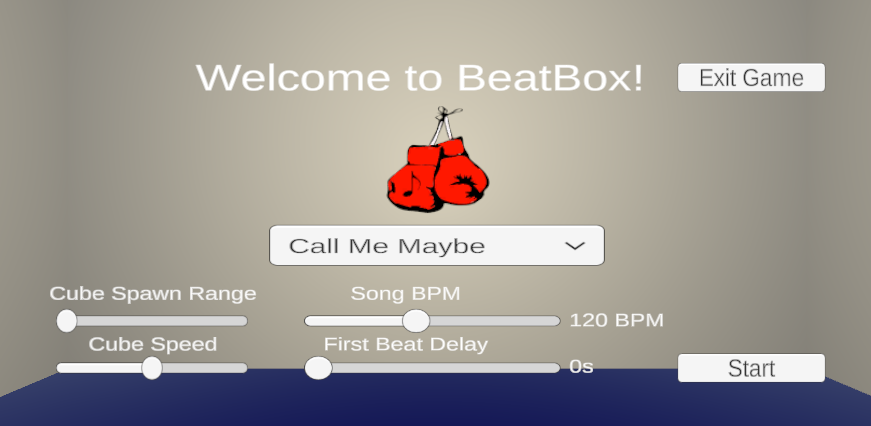
Finally, what about the main menu? The main menu screen hasn’t changed much since the last blog post, but there are noteworthy changes. The biggest change you may have noticed is my new, beautiful logo for the game (also on the end of song screen)! I’ve also created an “Exit Game” button. Clicking this kills the game application.

Next on my plate is incorporating beat detection! I will be drudging through arguably too much math to try and make an accurate beat detection algorithm. It’s not going to be easy.