
3/26/19
For those who do this project after me or who are inclined to learn about the way I ended up doing some of the tasks in Unreal; here are technical layouts for how I accomplished problems and implemented them in Unreal. Note that this will detail the tools and implementations within the engine, but not the entirety of the solution.
Landscape: Landscaping was done using the built in landscaping tool. Textures for the landscape are taken from the various asset packs that I have from the Unreal Engine Marketplace, but are mixed and matched into a material asset that I built. The material asset I built had to contain all of the different layout textures that I wished to brush on the landscape such as grass, sand, and mountains. I used this tool to build most of the mountain landscapes as well as the “under/cut” grass and sand. Some of the rock cliffs come from the “Kite Demo” pack which is arguably the most useful of the assets I have.
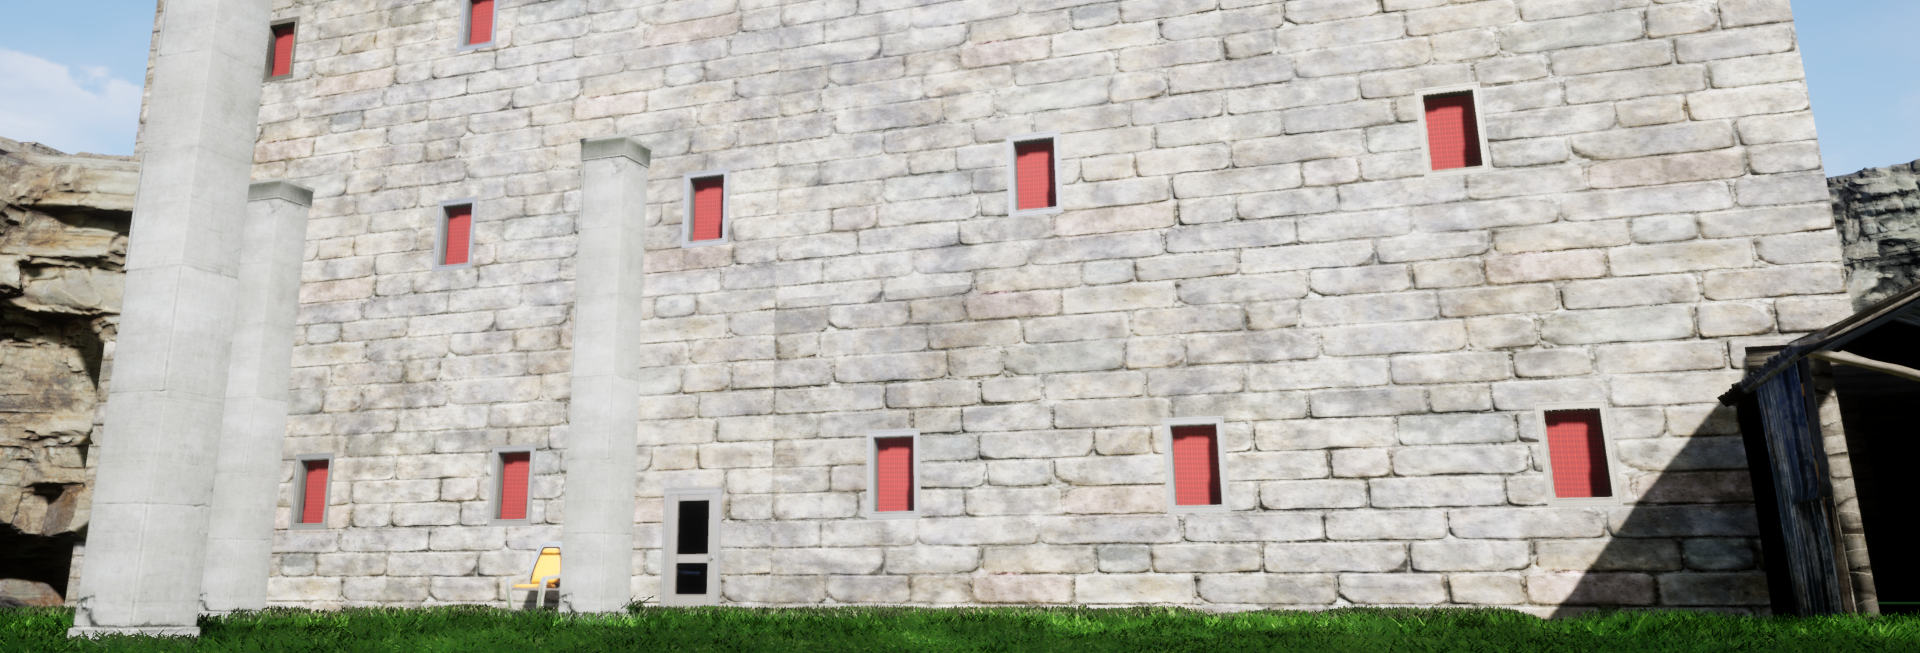
Mansion: The mansion was built using the geometry tool. I used solid cubes to build the initial house and then I used cutaway cubes to build doors and windows. On a specific month, one of free assets given out was a material pack and one of the clothlike material textures I used to give off the curtain effect. Since the mansion was an aesthetic, I found that I didn’t want to waste time on splines and just used a solid block containing the clothlike texture. I also used a glass window pane to add to that window affect. The interior of the house, although very dark and hard to see, does have a carpet from using material from that same pack and also chairs and tables from the defaults pack.
Grass: Grass meshes are taken from free packs on the Unreal Engine Marketplace. I use the foliage tool to create the wide area of grass meshes that would later be cut. On my character blueprint, I have a long set of blueprint nodes that uses “line traces” to see if the grass is directly underneath where the blade would be. If these lines collide with a grass material, they remove the instance of the grass. This is how I amount to having a large number of grass meshes as well as how its cut at runtime. I can’t remember if I used the grass from the “Kite Demo” pack or if it was from one of the other various asset packs that I have, but I would like to note that its important to have a collision box on the static mesh itself to ensure that the line trace can collide with it. Checking the collision properties of both the mesh and the foliage instance are very important. I used a trace by visibility, so it is very important that the foliage instance has custom collisions such that it blocks visibility but allows for pawns and potentially other objects to pass through them. More on the mower blade mechanics in the lawn mower section.
Zero Turn Lawn Mower: The zero turn lawn mower doesn’t extend to the vehicle blueprint class. I instead chose to use a character blueprint. Choosing between a character and a vehicle was a semi difficult decision. I chose to use a character blueprint approach over a vehicle blueprint approach for a few reasons. The first reason is that I have more experience with the character blueprints over the vehicles. The second reason is that I found more c++ in the prebuilt vehicle model that I would need to strip out than useful. I am aware that I could have started with a blank vehicle template, but I didn’t want to take time setting up all the individual components. Third, I felt that the extra features for the vehicle template couldn’t easily be extended into my project. For example, the feature that the vehicle class had that I was most looking for was its speed. From my understanding, the speed required movement, but it may have restricted me to using the forward movement component which was my fall back plan. The more correct solution which is my current implementation is to calculate the point at which the lawnmower would be at after pivoting around each of its tires. This however doesn’t use the movement component and therefore is the final reason why I don’t use the vehicle template. To accomplish the zero turns movement I have collision boxes placed at each tire and use their world location to pivot the center point of the lawn mower. To calculate this new position, I used various linear algebra techniques such as change of coordinates and rotation matrices. This method finds the correct position but by setting the location manually I create the need to define collision bounds to stop the object from phasing/teleporting through thin hollow walls. I haven’t yet resolved this issue, and thus there will be no further technical discussions on the movement component in this entry. Finally, as for the mower blade cutting area, as mentioned in the grass section, I used line trace by channel to determine the area by which the mower would cut the grass. I used blueprint nodes to construct the trace using the “visibility” channel to check if their was any grass meshes directly below the mower. I used a total of five traces to calculate directly below the mower and the edges of where the mower blades would be. This model can be seen in the “Need Blades to Cut” Gallery image. Several other mower mechanics such as force and animations currently are not implemented and thus those will be saved for another technical update.
Water: I found some assets in the marketplace which contain water in them. Water is something that can be created various different ways, but the asset that I am currently using is a static mesh that has the basic rift properties already. I used this static mesh to make a simple pond that the player can sink their lawn mower in. Since the pond is only meant to be a trap, I don’t need it to do anymore than a simple collision check to see if the player sunk their lawn mower in the pond.
The following are the objective topics slated for the next “technical update”:
A.I Mechanics
Advanced Mower Mechanics
Win/Loss Conditions
Efficiency Calculations. (Distance/Time/AmountCut)