
Madeline Krajewski
Now that Algorithm 1 is complete, it is finally time to tackle Algorithm 2! Thankfully, it is not nearly as scary as it seems. I will try to explain the process simplistically to hopefully help others understand it, too. First, we are only making two shares WITHOUT increasing the image size. We are not using any vector modifiers or anything beyond the simplest form of the algorithm. At the suggestion of my Point Professor, Dr. McVey, I will be using ASCII art to start; later, I will make the leap towards images. I would recommend anyone else attempting this project to do the same by using 2D char arrays and text files to store the information.
I simplified the process by finding this vector image of a Kiwi (a flightless bird native to New Zealand).

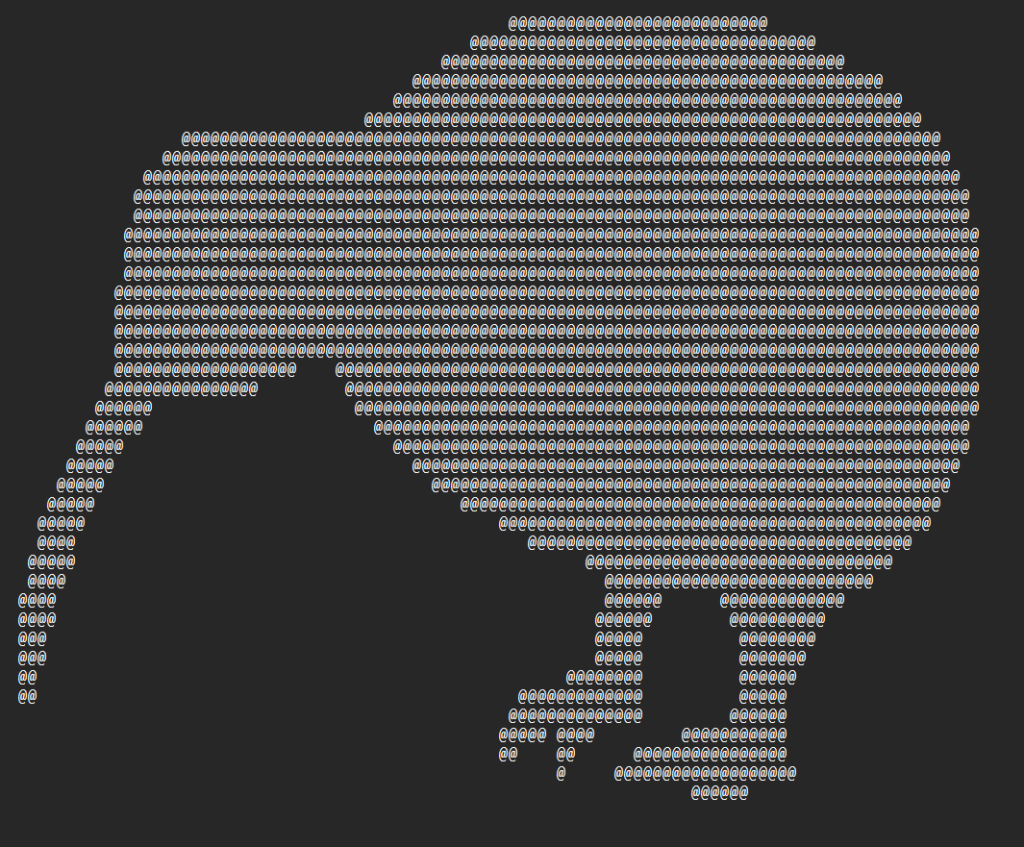
Then, I put it through this website, which converts images to ASCII art. It outputted the Kiwi with ‘@’ symbols, which I later modify. Below is the unedited version of the result.
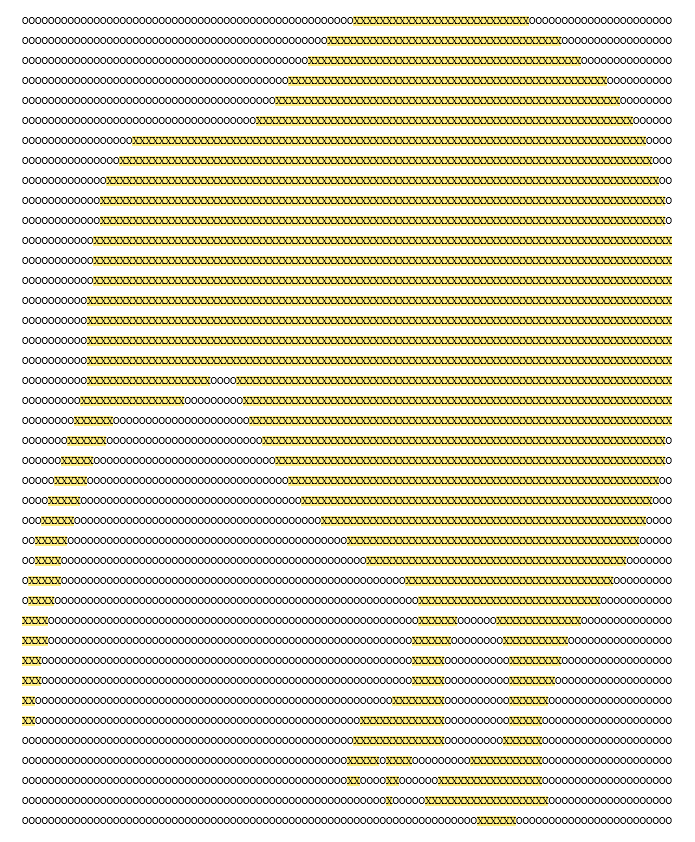
From here, I wrote a quick function which grabbed a char from the text file and checked whether it was an ‘@’ symbol. If it was, it wrote an ‘X’; otherwise, it wrote an ‘O’. This then makes the ASCII chars similar to black pixels (‘X’) and white/other pixels (‘O’). With this done, I could then move onto the encoding process.
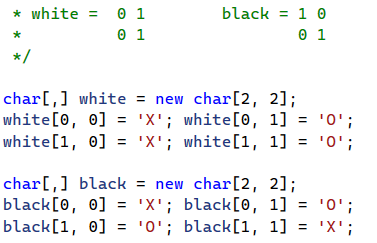
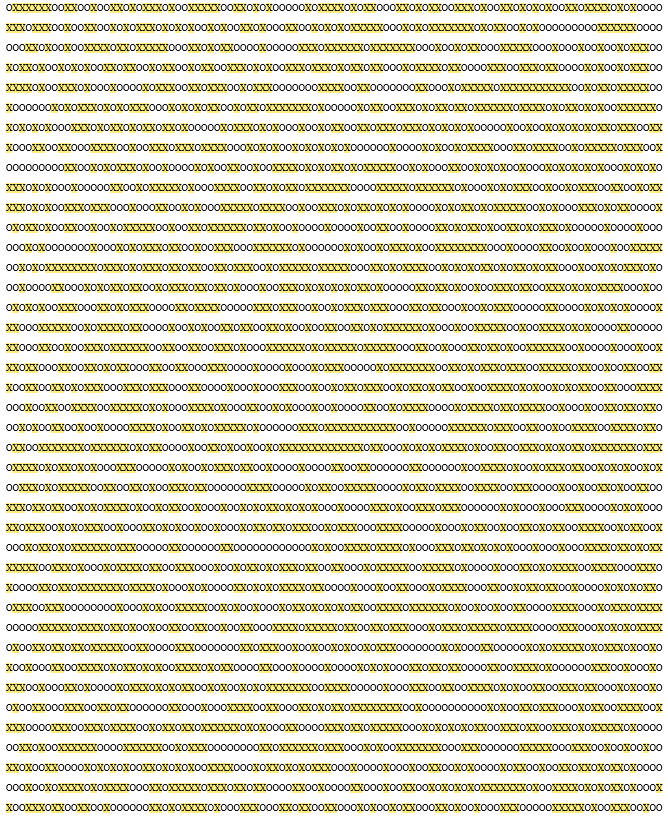
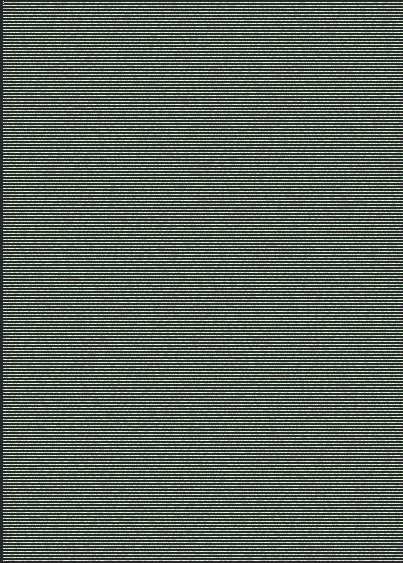
Now, this sounds far more complicated than it is. First, let’s set up our chart of chars. This models what Doug Stinson outlines in his paper; this (to me) is a bit easier to follow. Basically, we determine if the char is a white char (‘O’) or a black char (‘X’). Once you determine which char array to use, you randomize which column to use. From there, you put Row 0 (‘1,’ but computer scientists begin counting from 0) into Share 1, and Row 1 into Share 2. Do this for all the chars in the ASCII art, and voila! You now have two garbled, strange shares! I have highlighted the ‘X’ chars to make it a bit easier to see what has occurred.
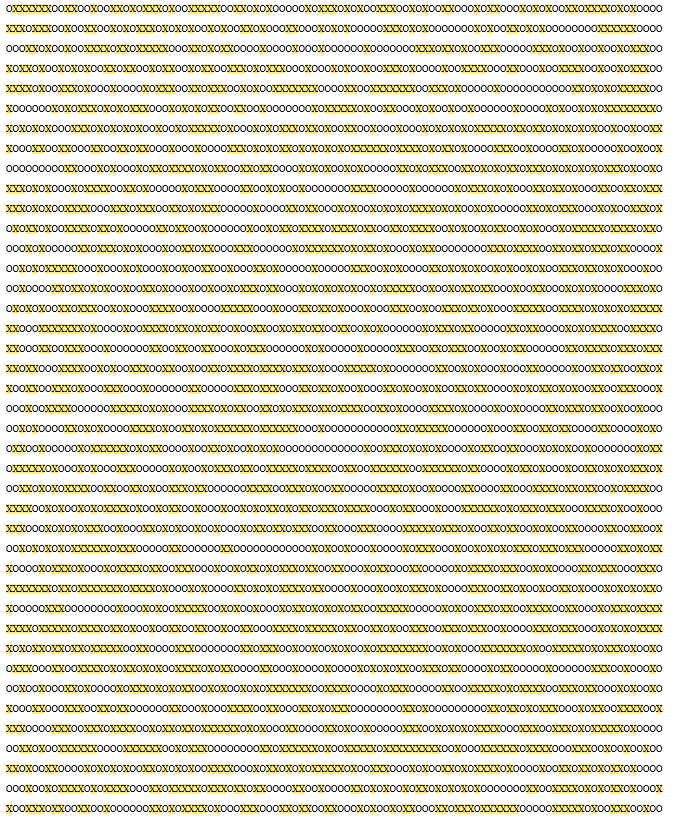
Here’s Share 1:
And Here’s Share 2:
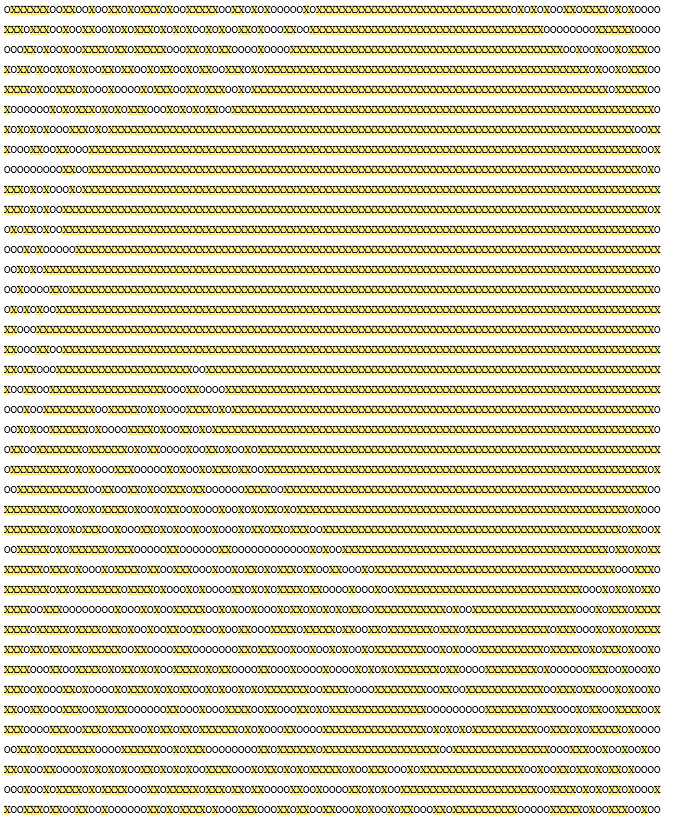
Now, we can merge the shares to reveal the secret image! To do this, we simply check if an ‘X’ appears in either Share 1 or Share 2. If it does, we write it to the Merged text file. After looping through everything, we have a text file which should reveal the secret image!
Here’s what I got during this run:
And here it is with an outline to hopefully make it easier to see:
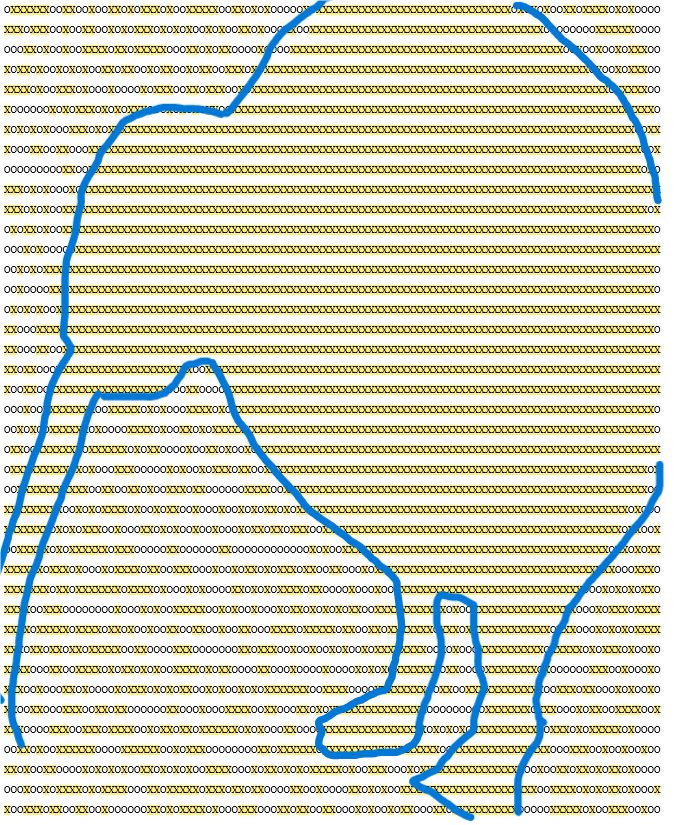
Success!
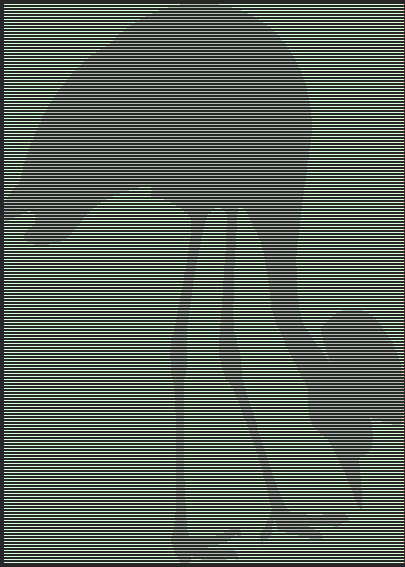
Here it is again, but with a larger ASCII image of this Grey Crowned Crane:

‘@’ ASCII from our handy-dandy website:
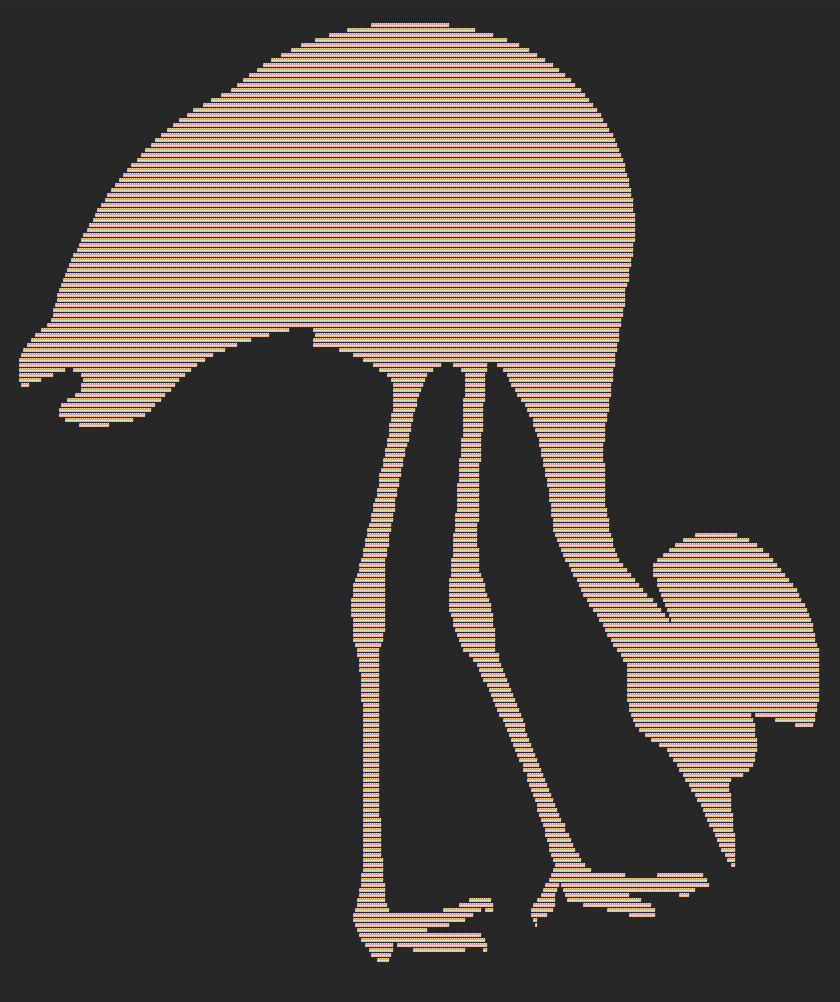
My ‘X & O’ Version (in Notepad, because MS Word did not have a large enough paper size to make it legible as an image):
Share 1:
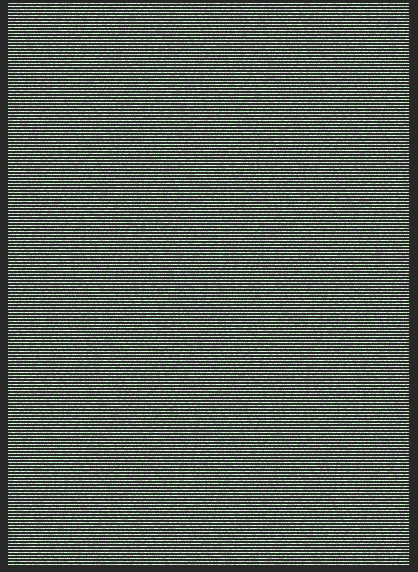
Share 2:
And finally, the Merged Shares:
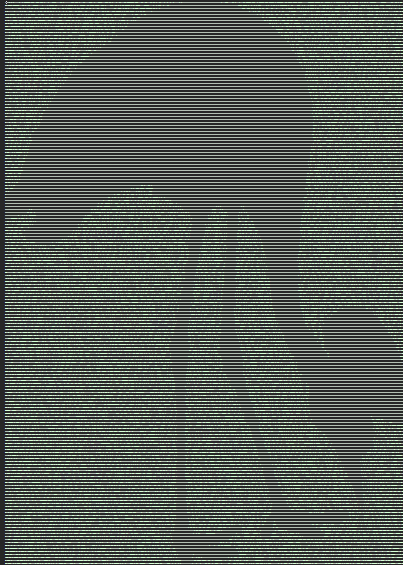
Here, we can see how much clearer the image turns out when more chars (‘pixels’) get used. This is something to keep in mind–the next step will be to increase the size of the original image. Remember how confused I had been regarding doubling the number of pixels? What needs to happen is doubling the dimensions. That is, if the original is (width * height), the new, larger version will be ((2* width) * (2*height)). The finish line is in sight, and I can’t believe I only have one week left!
Image Sources
“Grey Crowned Crane” by Gitti Lohr from Pixabay
“Kiwi Silhouette” by Clker-Free-Vector-Images from Pixabay